
Training With Power Meter
Whether you participate in bike races, train for a triathlon or just train on your bike to stay fit and healthy, you’ll probably use the power meter differently – but in all cases, you basically shift from training “blind” to being able to train very precisely.
If you haven’t trained with a power meter before, this is the common way to do it:
-
Test your current level (as described below)
-
Train for some weeks (maybe following a power based training plan)
-
Test your level again and repeat…
The test to gauge your bike fitness gives you two things:
-
A baseline to measure your improvements against
-
Your so called “training zones”, which are super useful for your daily training (more on that some other time)
Only perform the test if your basic fitness level is decent. This is not a good thing to do if you are just getting started with your training or have any conditions. To perform the test, start with a thorough warm-up of at least 20 minutes. Make sure the warm-up doesn’t exhaust you but at the same time makes you ready for the test. Maybe do at least 5 minutes at an intensity close to what you expect to be able to average for 20 minutes.
Once you’re ready for the test, press the lap timer on your watch/bike computer and start the test. Make sure you don’t start out too hard, but close to and just below the power, you expect to be able to push for 20 minutes. Then just stay there or increase slightly if you can – the whole purpose is the achieve the maximum average power, you can push for 20 minutes.
You’re supposed to be completely exhausted at the end of the test.
When done, push the lap button and remember to cool down … and then check the average watt power you performed. This is the base for calculating your training zones and a good indication of your current fitness level. And yes… you should go all out and be completely exhausted after the test. Completely.
To compare test results, the test should be performed as close to identically from test to test as possible, including how you warm up prior to starting the 20 minutes of the actual test.
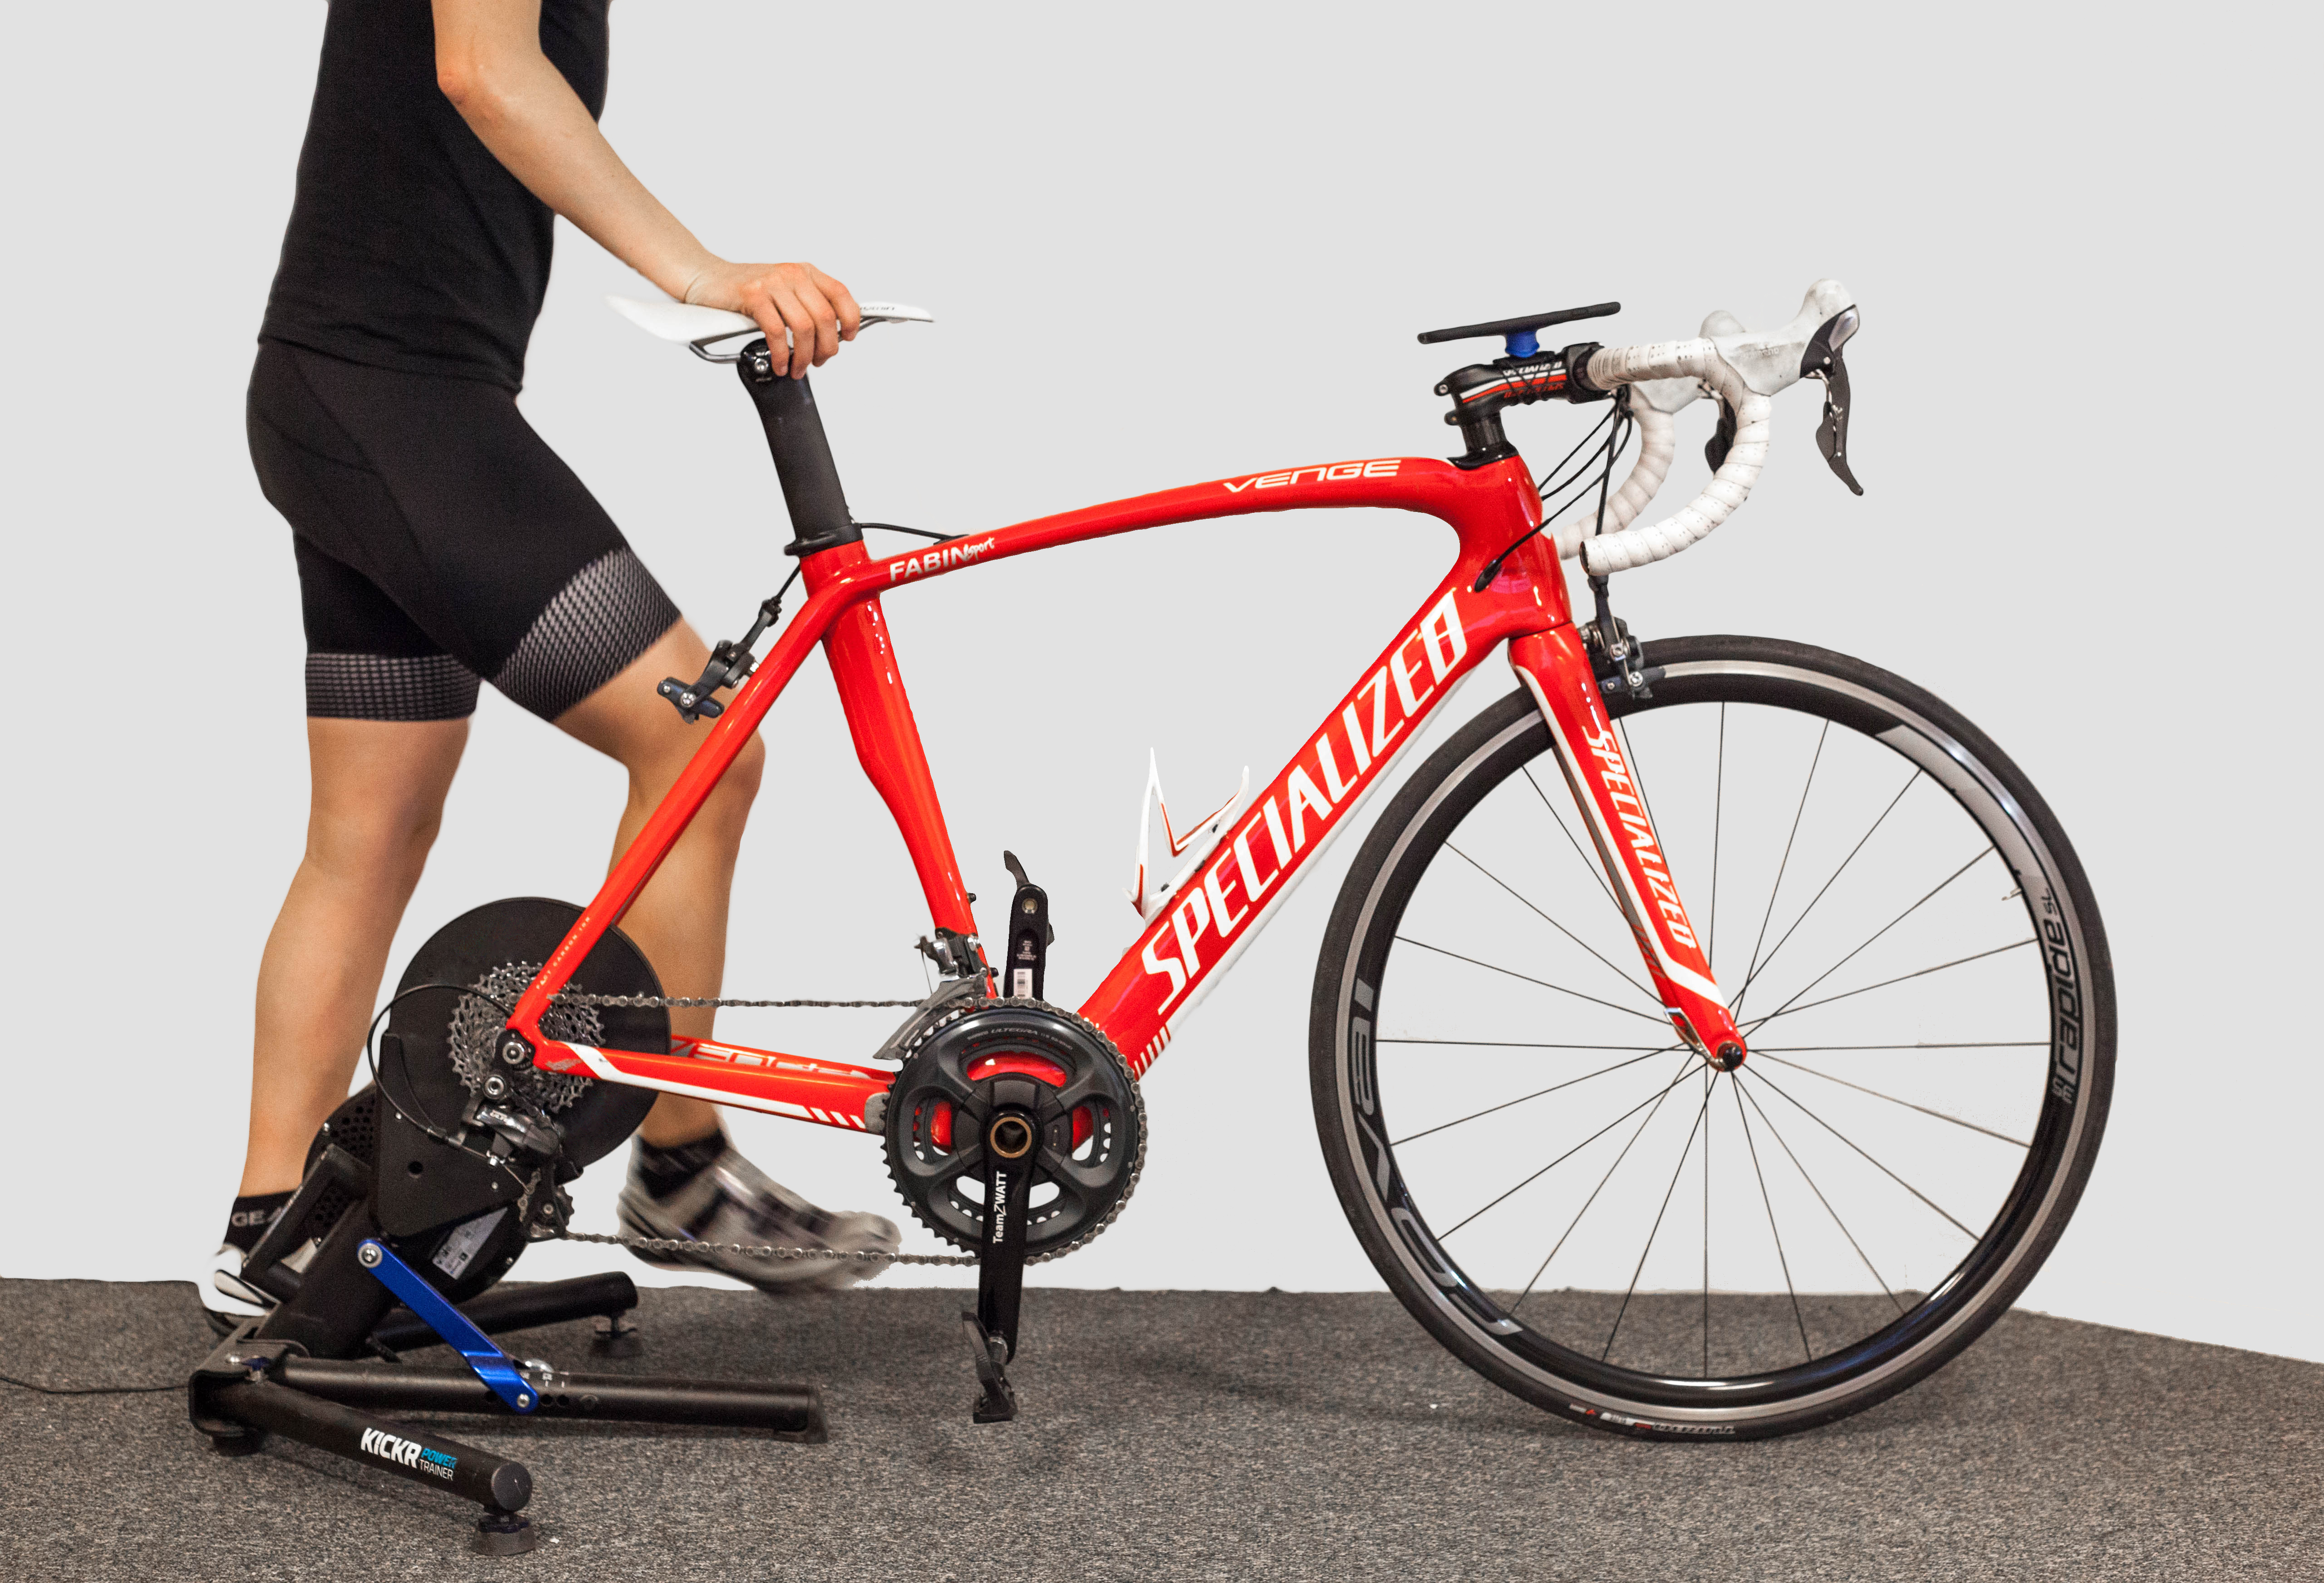
This is easiest if you do the test on a home-trainer, where you’re in control of everything, but the test can also be performed on the road – preferably on a calm stretch of road with as little traffic as possible, and ideally on the same stretch of road every time.
Most people will experience, that they can push more power outside in “real” conditions than on a home-trainer, which is probably linked to the boredom on the stationary bike versus the feeling of the speed on the road.
Have fun maxing yourself out!
If you would like to share your story feel free to contact us at gc@teamzwatt.com
Happy Pedaling!
Want to ride and train smarter with watts?
Meet The Zpider
The ultimate in power meters is the spider based solution. This is installed as a disc (the “spider”) between the spindle and the chain rings. This is where the power transitions to the chain and a great to spot to measure the total power from both legs.
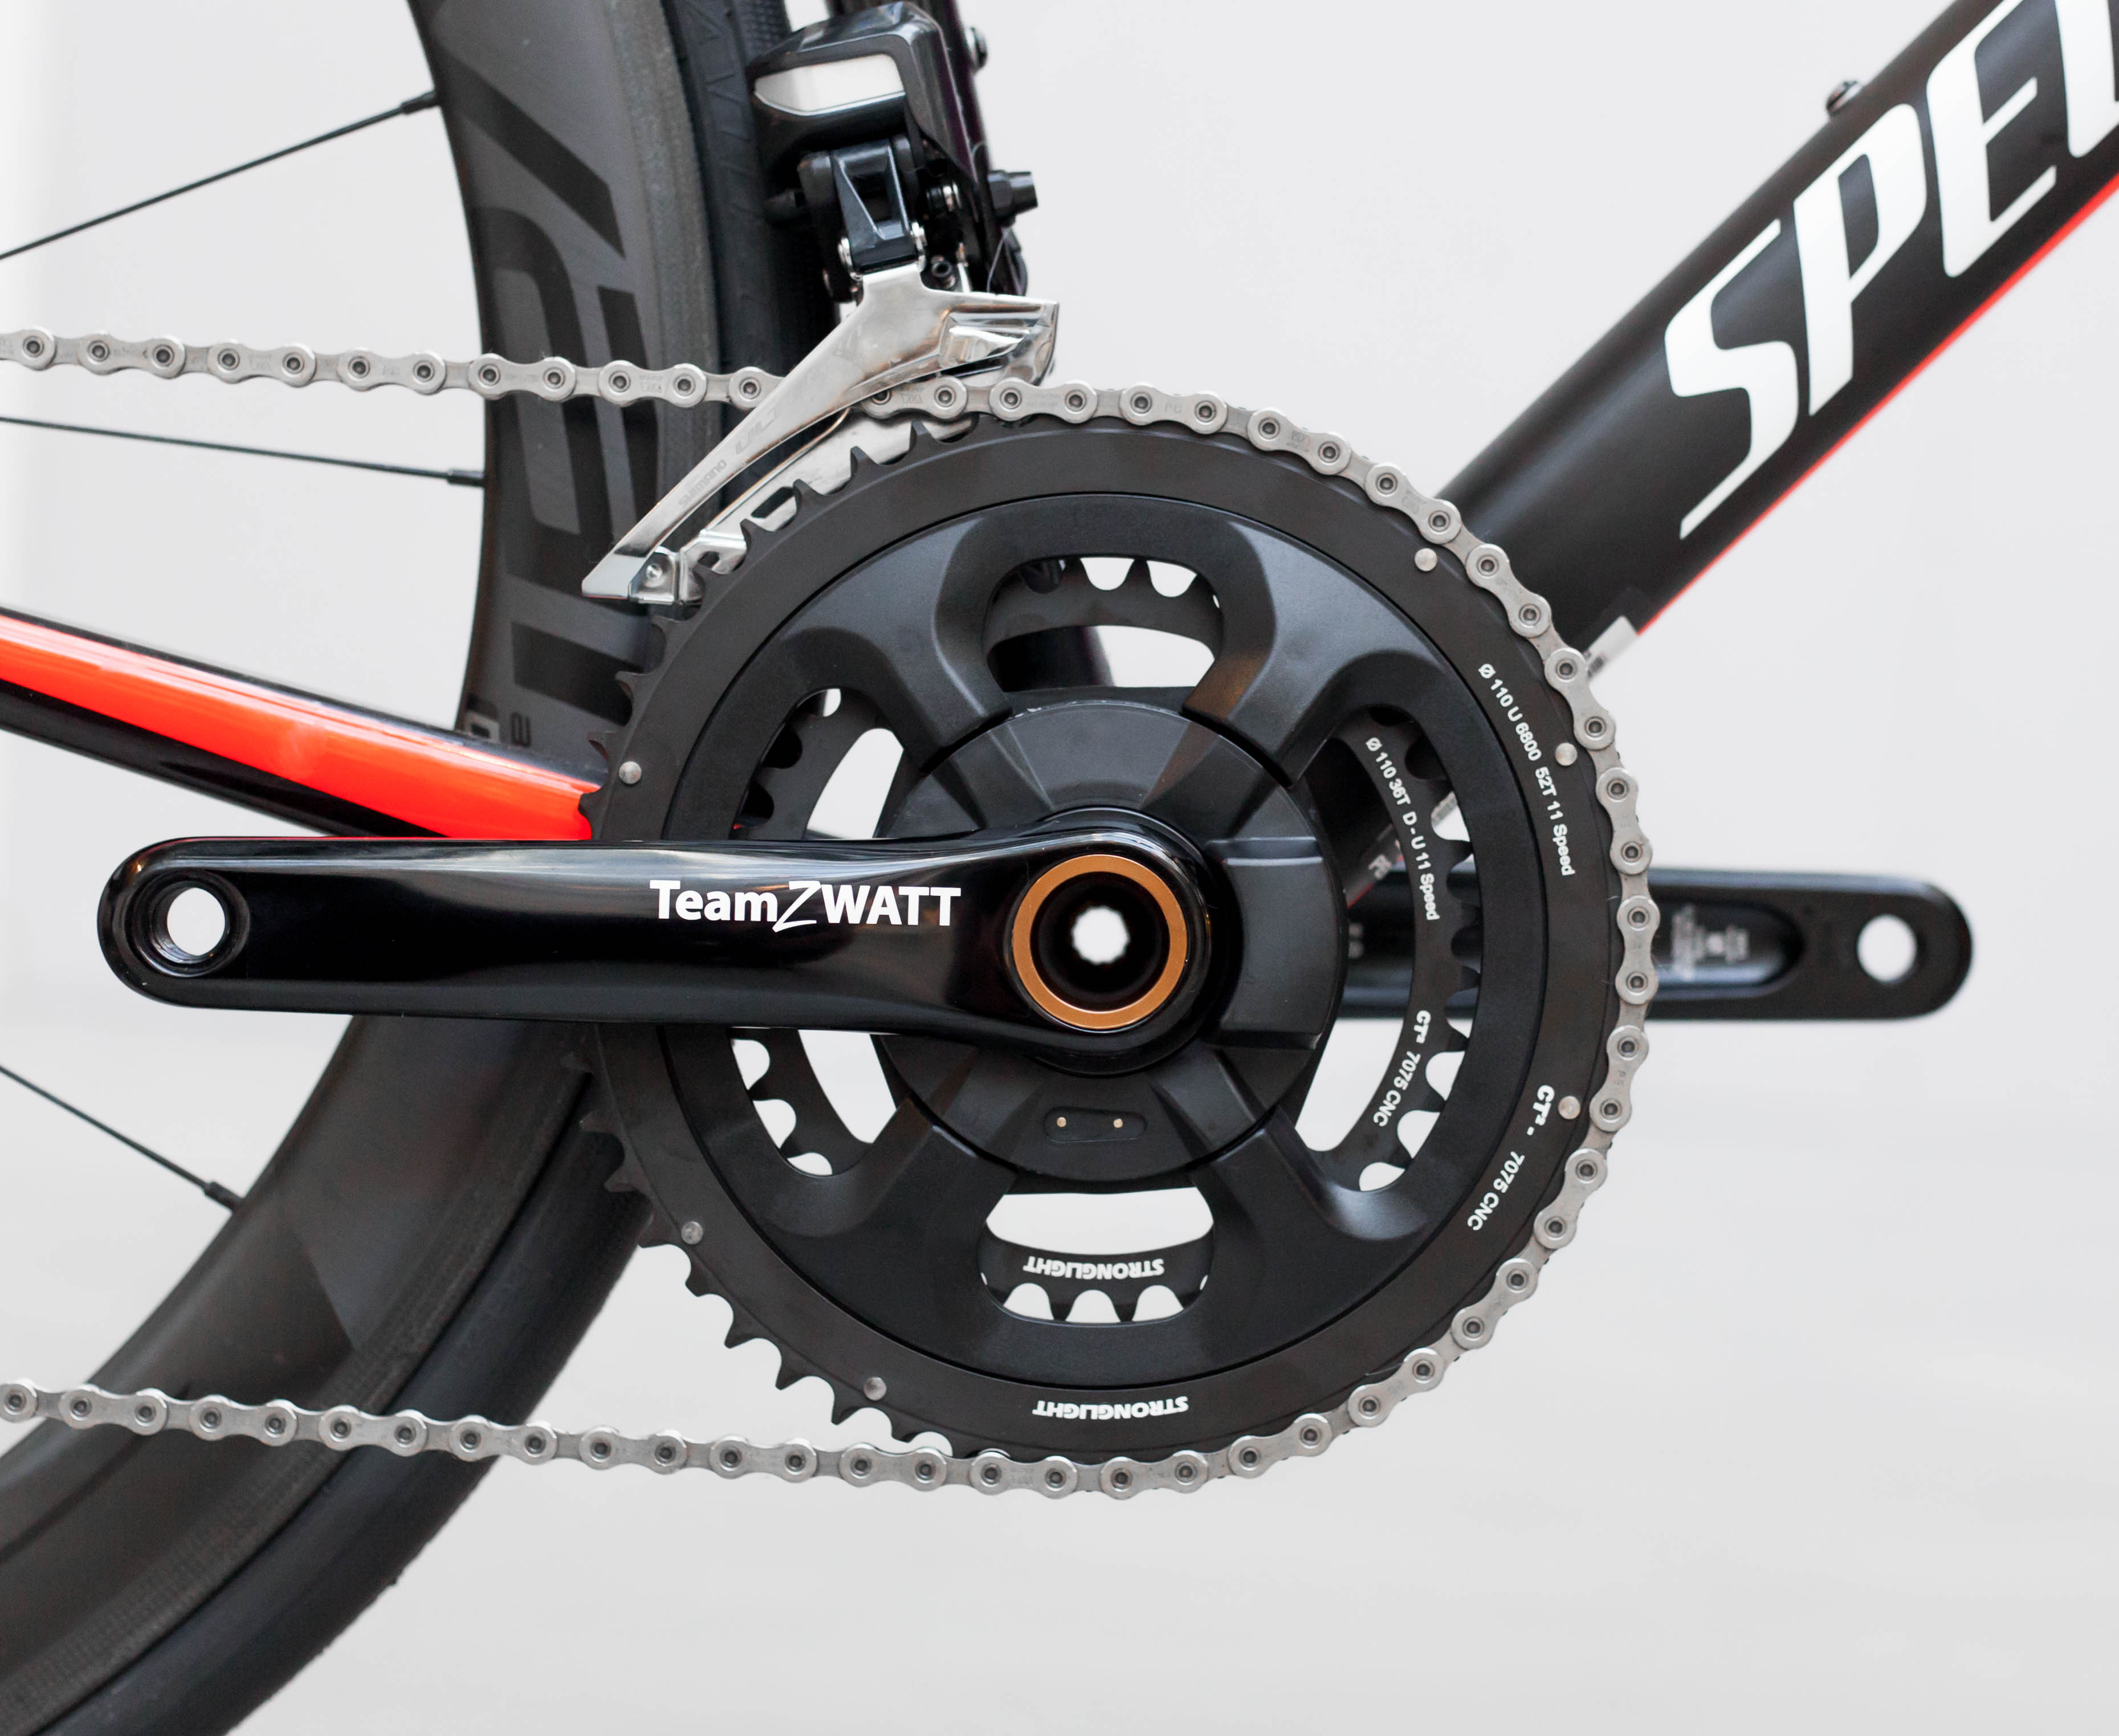
Key Features
-
Available lengths: 170, 172.5 and 175 mm
-
The Power meter will fit dual 4-bolt asymmetric ‘Shimano style’ 110 BCD chain rings
-
ANT+ and BLE protocol (simultaneously)
-
Rechargeable battery: USB magnet charger with indicator light
-
Measure power from both legs
-
Secure wireless firmware updates
-
FSA BB386EVO – The ultimate in compatibility. 30mm crank axel making it compatible with almost all bikes
-
Measurements: Power, cadence, torque effectiveness and pedal smoothness
-
Water resistance rating: IP67
-
Automatic temperature compensation
€ 392.00 (€ 313.60 ex VAT) + € 4.46/mo
BIG THANKS to all who supported us on Kickstarter and Indiegogo
You want a power meter?
We want testers!
Help build a great test team for bike power meter technology.
Get a very affordable power meter by sharing just 30 minutes ride per month.
So we can create better power meter technology for all!